Tuesday, November 20, 2007

Bandsawing

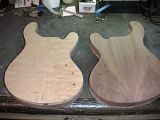
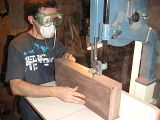
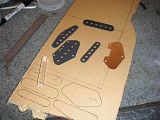
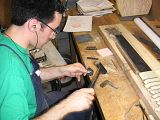
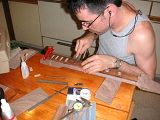
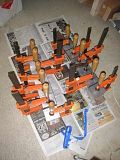
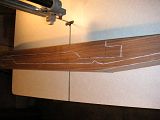
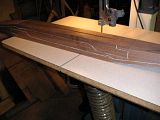
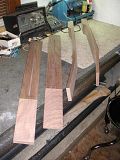
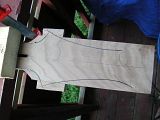
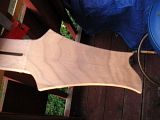
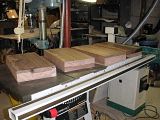
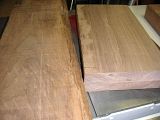
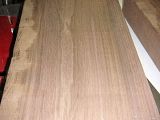
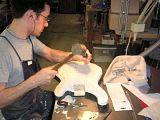
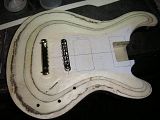
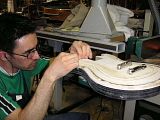
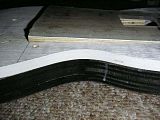
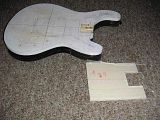
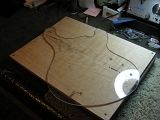
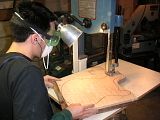
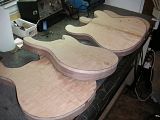
Now that I have all my body wood, bookmatched, and glued together, it's time to cut it out. Here are a few pictures of my progress.


Sunday, November 11, 2007

Finshing of Bookmatching

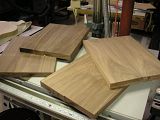
I have finished bookmatching my walnut, and the maple body caps are nearly done. I will be band sawing out the bodies very soon. Once that's done, it's time for routing and carving. Below is a picture of what the walnut looks like after it has been glued, and thickness sanded.


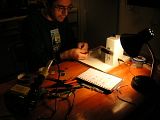
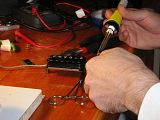
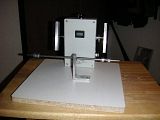
I have been keeping at making prototype pick ups too. So far nothing extraordinary has come about, but I'm learning, and have few pick ups made, that have potential. Below are pictures of me winding a coil, and soldering a pick up together. The ability to solder such tiny wires takes quite a bit of practice, as you can see.


Wednesday, October 10, 2007

Pick up progress

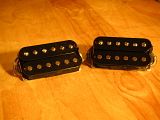
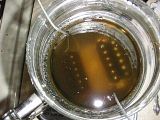
I have a pair of humbuckers finished. I will be putting these into my friends guitar this weekend, for a trial run. Here are some pictures. I know, I need to get some of me actually winding. But it's kind of an involved process. One picture is of the pick ups potting. That is when you soak them in a combination of paraffin, and bees wax. This solidifies the wires inside. If one of the tiny wires inside is a little loose, the pick up can feedback.


Friday, September 28, 2007

Resaw!

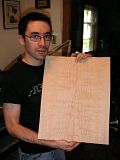
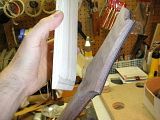
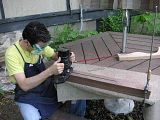
Resawing wood is to take a piece of wood, and bookmatch it. You cut it, and open it like a book, to have a mirror image of figure on both sides of the joint. My boss set up his bandsaw with the resaw modification last night. The blade is much deeper than a normal bandsaw blade, but thin (0.025") so the kerf of the blade wastes as little wood as possible. I have a couple pictures of me cutting my walnut body cores, and maple body caps. In the second picture, you can see me holding up some of the maple, and the effect of bookmatching with the squigly lines created in the curly maple.

So now I have my pick up making underway, and my bodies started. A lot will be happening all at once. I'll try to make sure i keep things up to date here, but I am going to be doing many longs nights for a while.


Tuesday, September 4, 2007

Long awaited update.

I have hit a spot with my project that is taking a lot longer than expected. I was planning on gluing headplates to the back of my guitars pegheads. However, the ebony I chose, even though it is about 1/16" thick, is very hard to bend. There is a slight curv that i need to get this ebony to match, and it's taking forever for the wood to cooperate.

You can see how i made a clamping caul for pressingthe ebony to the back side of the peghead in this picture. It's followed up by Dottie distracting me.


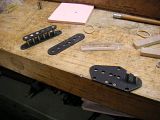
Other good news is that I finally got a pick up winder. I have also ordered a Telecaster pickup kit, and will build them up by hand for practice. My project guitars will have hand made pick ups in them, so this is a for practice thing. The last pictures are of me assembling the pickups. I will post some pictures of me winding them, and installing them into my telecaster soon.


Un-related to Guitar Building

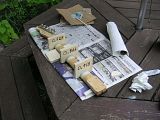
I live about 3 blocks from the 35W bridge collapse. Here are some pictures I took the day it happened, and then some more from the 10th Avenue bridge a few days ago.


Tuesday, July 24, 2007

Auto body filler.

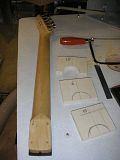
I have reached the point where i am going to start carving out my necks. To make sure that I duplicate each neck exactly, I made some carving cauls. What I did was to cut out some plywood, a little over sized.


Once I had those cut out, I used some auto body filler to make a true template of my neck. I coated the inside of the caul, and pressed it onto various parts of my telecaster neck, that i taped up to prevent the filler from bonding to my neck. After allowing the filler to cure, I was able to pry it off, and have my perfect tracing of my tele neck.


The other thing I have been working on, is putting my inlays into my finger boards. This is very time consuming, but will be worth it when all is done.


Tuesday, July 17, 2007

Clamped up Not much of an update. I have glued on all of my fingerboards. The picture below is of two necks clamped up. So from here I need to start carving them out. Due to my design, I can't use my bosses duplicator. So alot of this will be completely by hand, with assistance from the beltsander. There isn't much to see right now, but I'll keep poisting any pictures.


For those of you who have not see it, the video clip is of the band Valet. Robin Kyle (the singer) is playing my telecaster.
Valet

Add to My Profile | More Videos

Wednesday, July 4, 2007

Cutting out my necks

I started cutting out my necks. In the pictures you can see the outline of each neck on the squared up blocks of wood, and how I was able to get two necks out of each block. They are sort of head to heel. In the other pictures, you see how i cut out the pegheads. I had to "dog-ear" each peghead, to make them wide enough to get the full shape. This is common practice. It saves me on having to find a piece of wood that is a half inch thicker. In turn, saving a lot of wood.

Next up I will be radius-ing, and gluing on my fingerboards.


Tuesday, June 19, 2007

Starting on my necks.

Tonight I started getting my necks going. I am using the remaining peice of walnut, that I chose not to use for body wood. Having bought a 10' board, it gave me plenty of room to pick out which sections of the board I wanted to use for what. The walnut did have some small splits in it, at the end of the board. With carefulcutting, I was able to cut out peices that are just right.

To start off with, I put the board through the thickness planer. This maching will take a rough cut board, and put a nicelt planes flat surface on one side of it. If you're careful, you can get two perfectly parallel surfaces.
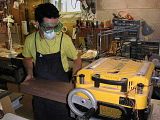


Secondly, I then cut this large board in to two boards. I ran them though my boss's joiner. A joiner will cut a perfect 90* angle to a prepped peice of wood. The joiner my boss built is made by Grizzly. It is an amazing machine.
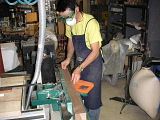
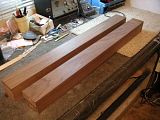


Lastly for the night, I routed my truss rod channels. The truss rod is an adjustable rod that controls the bow of the neck. Since I squared up all my edges, I chose to route the channel now, before cutting the necks out. Once cut out, I would have had to figure out some way to hold the neck down while I routed. That could be dangerous. The top, and bottom of the board get routed, because I am able to cut two necks out of each board.
Sunday, June 17, 2007

Peregrine?

I am needing some help with naming my guitars. I know i want to have my name in there some where. Previously I thought of calling myself Meyer Modern Lutherie. I'll probably stick to that, but just go by Meyer for short.

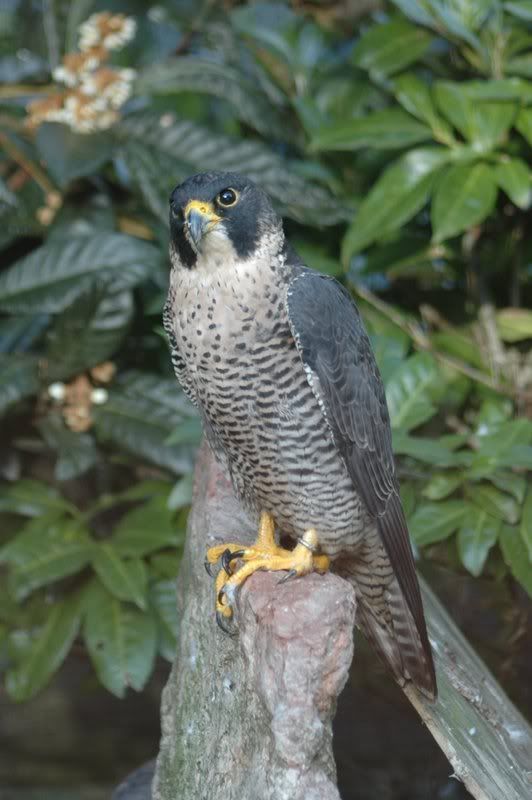
I also need a model name for my guitars. I plan on making other designs in the future, so I need to distinguish these. I would like to have something that says Minneapolis, or Minnesota. I've thought about calling the design the Hennepin. Another idea i had was to call them the Peregrine. After all Minneapolis has falcons, and some nest near my apartment. They are sleek, and in a way resemble my guitars out line.


Photobucket - Video and Image Hosting


Tuesday, June 12, 2007

cutting it down

I started cutting my walnut down. In the first picture, you can see the blocks that will be bookmatched for bodies. In the second is a comparison of rough cut, and surface planed wood. At work, my boss has a plainer that cuts a perfectly flat surface on a piece of wood that is still rough cut. In the last picture is a piece of walnut that's most of the way done.


Monday, June 11, 2007

I bought wood

Here it goes. This is when it gets fun.

I bought some walnut to get things officially underway. I had been searching the internet for some walnut big enough to cut into the dimensions I wanted. I wasn't finding anything. But then I went back to trusty old Youngblood Lumber Co. in Minneapolis. I got the wood for my other guitars from them, and it's nice to know i was able keep my search local. The piece I bought was 3" thick, by 10" wide, by 10' long. It came to $340 for the one board, but I am able to get all of my parts out of it. 4 body blanks, and more than 4 necks. I have plenty of room to find the perfect figure in the boards to create the most dynamic effects. So if you ever check my blog, now is the time to start checking it more regularly. I will try to post pictures more often, because my progress will be easier for everyone to see.

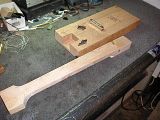
In the pictures below are my test run of my neck joint. Since this is such a crucial part of the construction, I remade my neck joint template. I also made a dummy neck, and then routed a blank board with my template. It fits so well. As you can see in the pictures, the neck fits perfectly with no gaps.


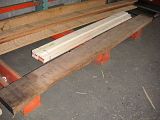
In the last picture is my piece of walnut. I took the picture at Youngblood before it was cut down small enough to be put in my car. It is the dark brown board in the foreground.


Thursday, May 24, 2007

Pictures

Here are a few pictures of me carving out the plywood body. Things are really coming along now. It takes a long time to get this just right, but it will be worth it.

The first picture is of me using a chisel to get a roughed out contour.


The second is a picture of the body about half way carved out.


The last is of me doing some finer work with a razor blade.


Tuesday, May 8, 2007

Routing of the Dummybody

I have my layers of plywood painted, and glued together. Now I have started routing the body, to test out how things will go together. The control pocket cavity is done, as well as the in put jack (neither are pictured). One very crucial route is for the neck. Since the neck will be glued in, this route can not be off in any way. I'll soon cut out a board to represent the neck, and glue it to the plywood body. After that, I'll start carving out the top.

I'm very glad that I slowed things down about a month ago. With the extra time, and patience, I have noticed just how accurate I can make things. My neck pocket route is going to be perfectly square. That was something I was dredding. That I might spend all this time on the guitars, and the neck goes on crooked. The first picture is of my custom tapered template. It's is about a 3.5 degree angle for my neck route. I wasn't sure if I would get it to turn out, but it's dead on.