Wednesday, October 10, 2007

Pick up progress

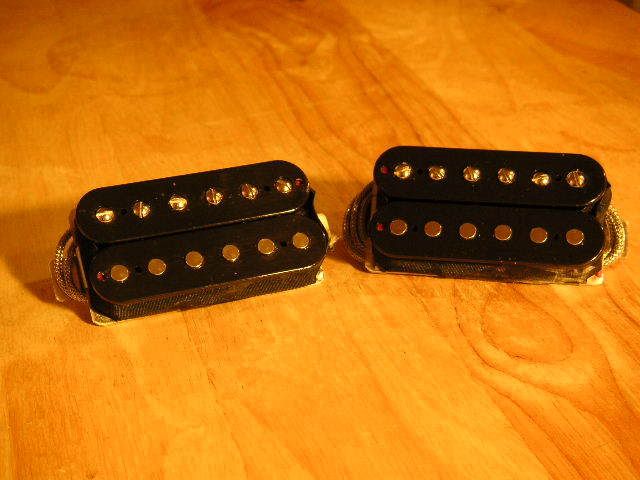
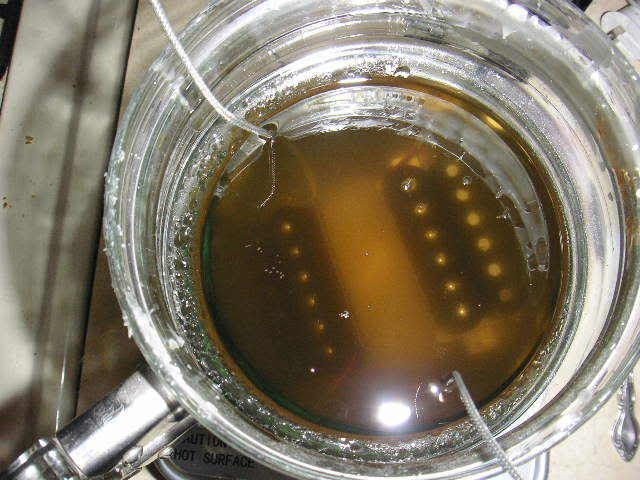
I have a pair of humbuckers finished. I will be putting these into my friends guitar this weekend, for a trial run. Here are some pictures. I know, I need to get some of me actually winding. But it's kind of an involved process. One picture is of the pick ups potting. That is when you soak them in a combination of paraffin, and bees wax. This solidifies the wires inside. If one of the tiny wires inside is a little loose, the pick up can feedback.


Friday, September 28, 2007

Resaw!

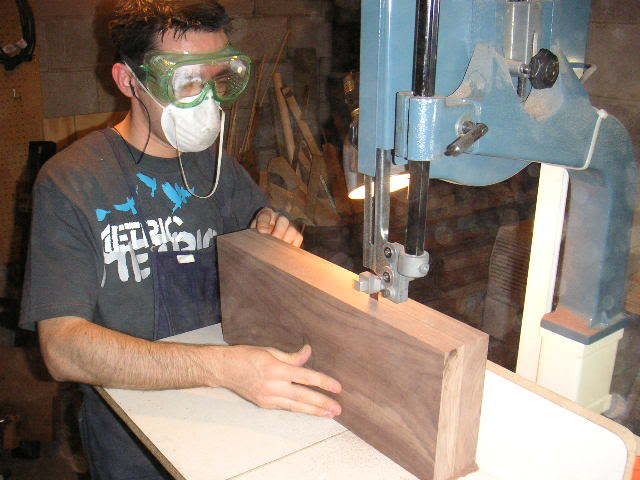
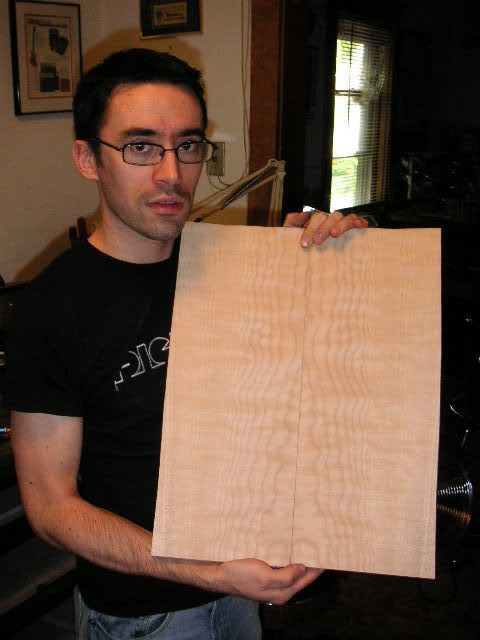
Resawing wood is to take a piece of wood, and bookmatch it. You cut it, and open it like a book, to have a mirror image of figure on both sides of the joint. My boss set up his bandsaw with the resaw modification last night. The blade is much deeper than a normal bandsaw blade, but thin (0.025") so the kerf of the blade wastes as little wood as possible. I have a couple pictures of me cutting my walnut body cores, and maple body caps. In the second picture, you can see me holding up some of the maple, and the effect of bookmatching with the squigly lines created in the curly maple.

So now I have my pick up making underway, and my bodies started. A lot will be happening all at once. I'll try to make sure i keep things up to date here, but I am going to be doing many longs nights for a while.


Tuesday, September 4, 2007

Long awaited update.

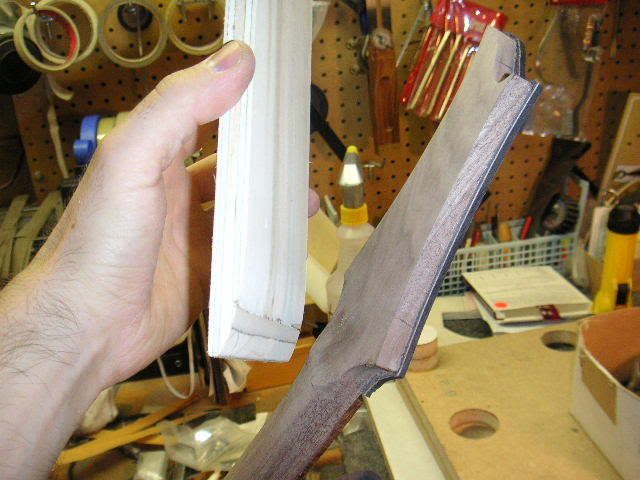
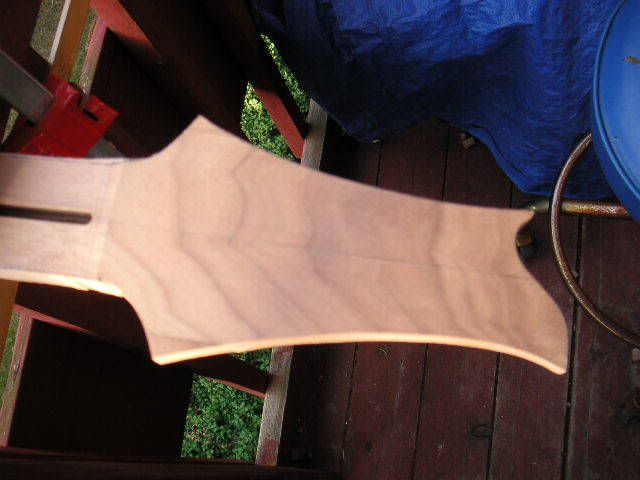
I have hit a spot with my project that is taking a lot longer than expected. I was planning on gluing headplates to the back of my guitars pegheads. However, the ebony I chose, even though it is about 1/16" thick, is very hard to bend. There is a slight curv that i need to get this ebony to match, and it's taking forever for the wood to cooperate.

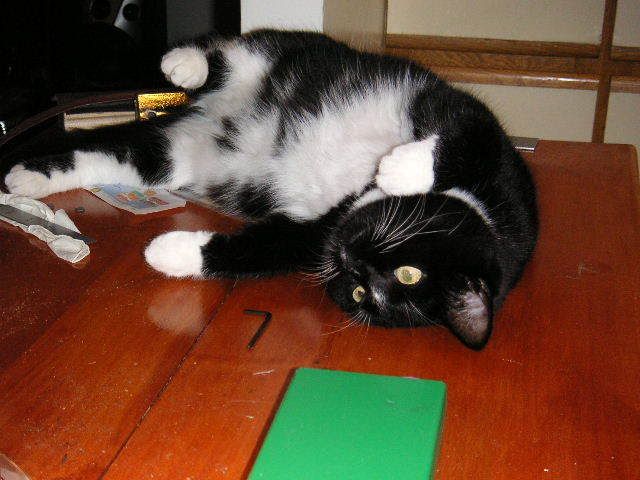
You can see how i made a clamping caul for pressingthe ebony to the back side of the peghead in this picture. It's followed up by Dottie distracting me.


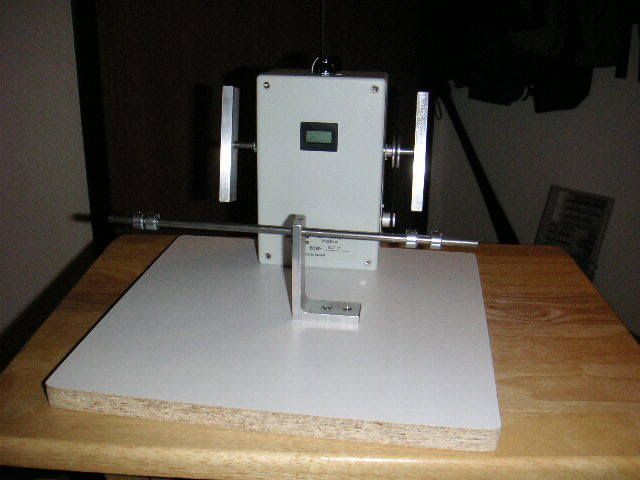
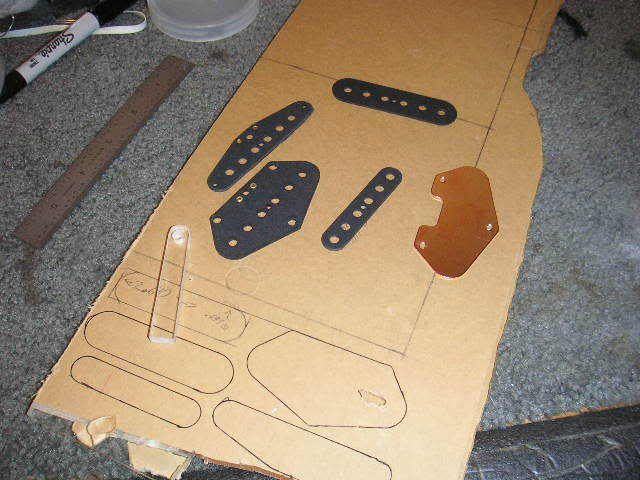
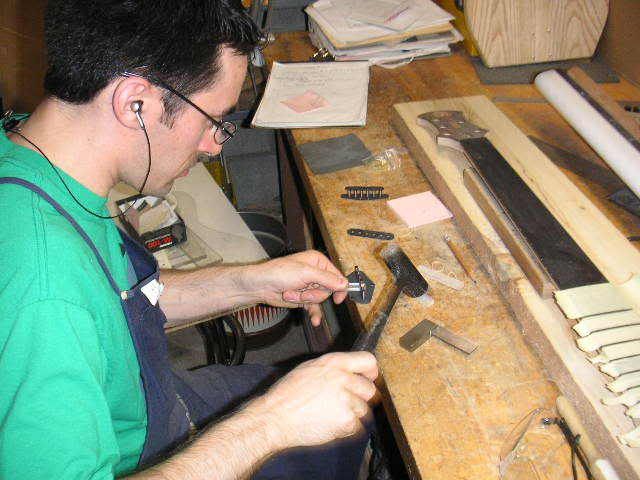
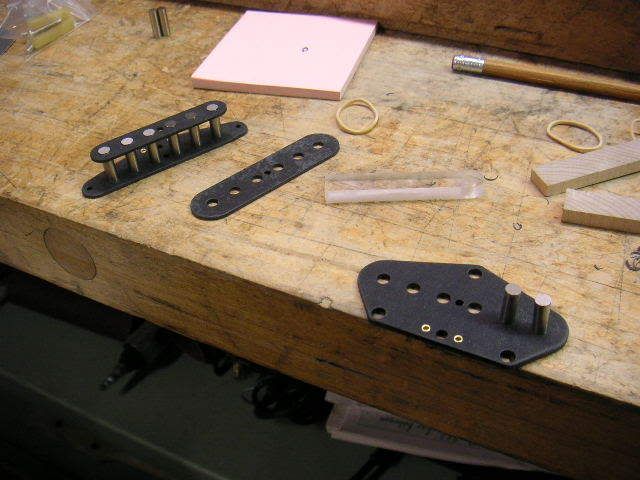
Other good news is that I finally got a pick up winder. I have also ordered a Telecaster pickup kit, and will build them up by hand for practice. My project guitars will have hand made pick ups in them, so this is a for practice thing. The last pictures are of me assembling the pickups. I will post some pictures of me winding them, and installing them into my telecaster soon.


Un-related to Guitar Building

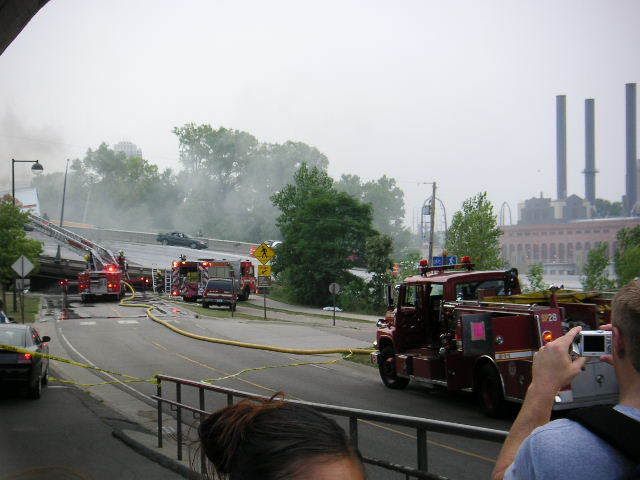
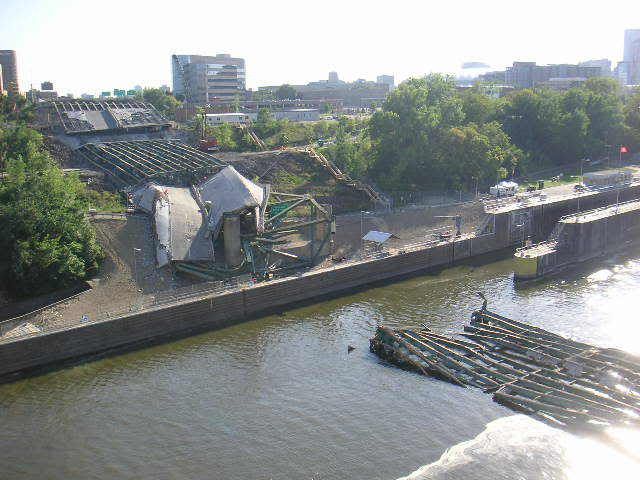
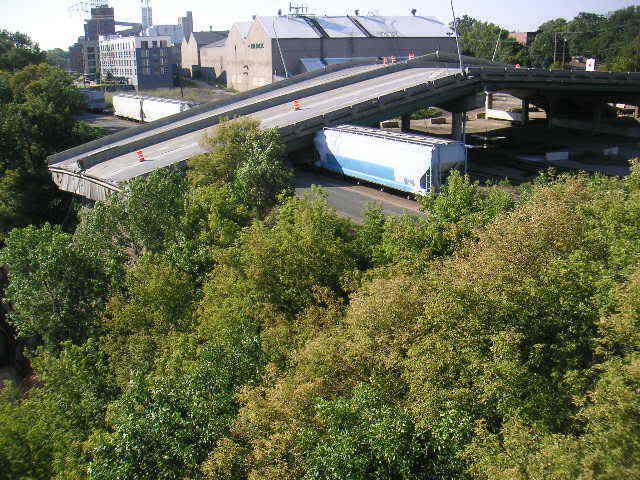
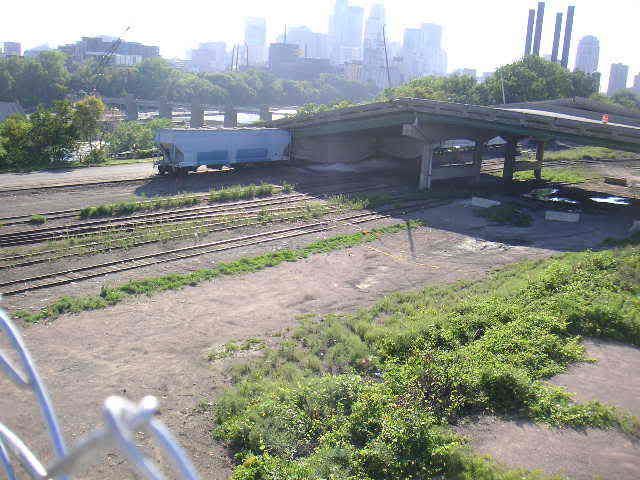
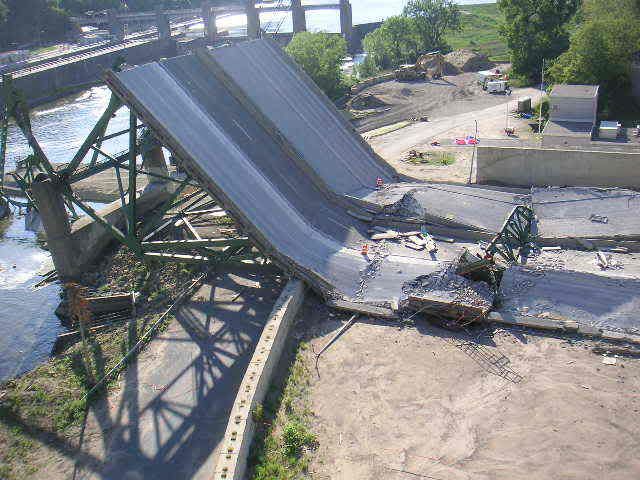
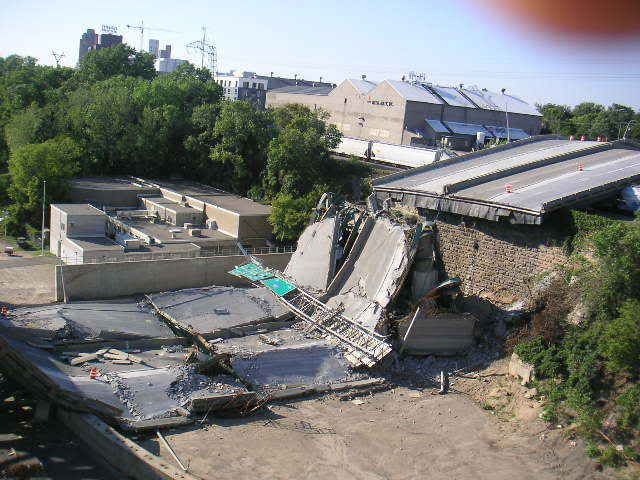
I live about 3 blocks from the 35W bridge collapse. Here are some pictures I took the day it happened, and then some more from the 10th Avenue bridge a few days ago.


Tuesday, July 24, 2007

Auto body filler.

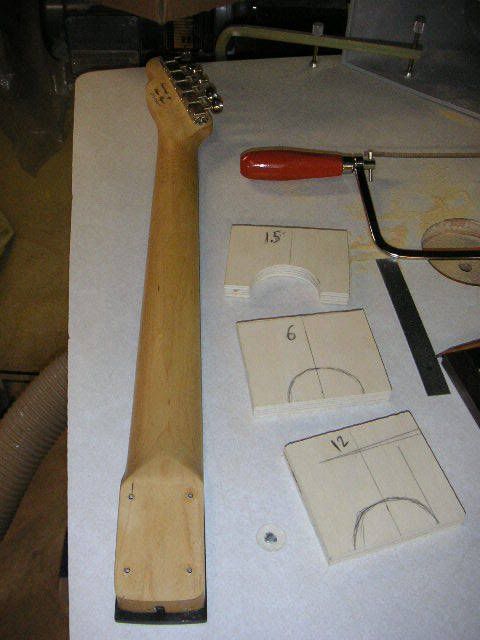
I have reached the point where i am going to start carving out my necks. To make sure that I duplicate each neck exactly, I made some carving cauls. What I did was to cut out some plywood, a little over sized.


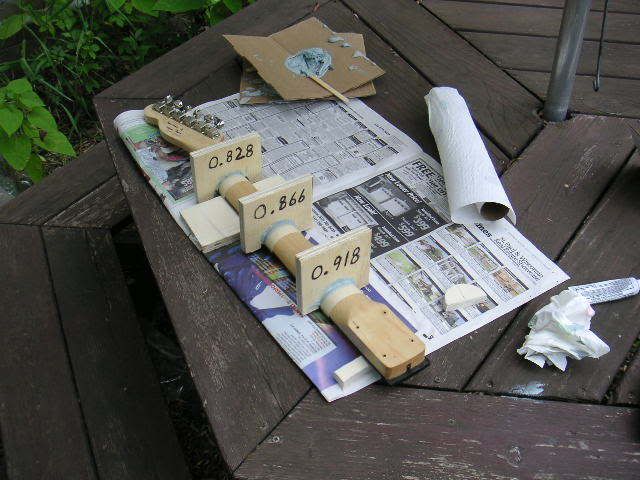
Once I had those cut out, I used some auto body filler to make a true template of my neck. I coated the inside of the caul, and pressed it onto various parts of my telecaster neck, that i taped up to prevent the filler from bonding to my neck. After allowing the filler to cure, I was able to pry it off, and have my perfect tracing of my tele neck.


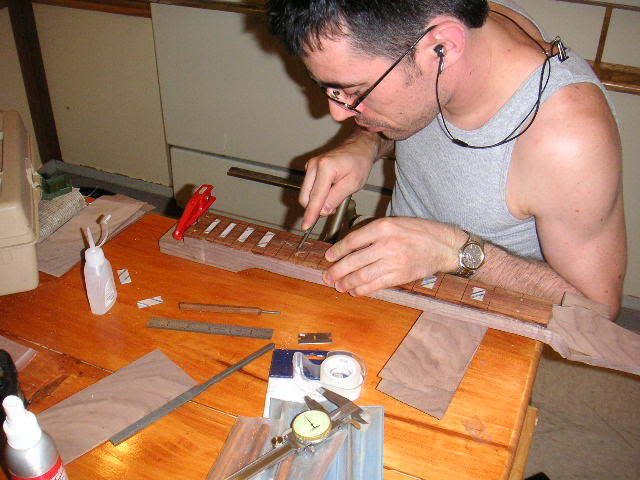
The other thing I have been working on, is putting my inlays into my finger boards. This is very time consuming, but will be worth it when all is done.

Tuesday, July 17, 2007

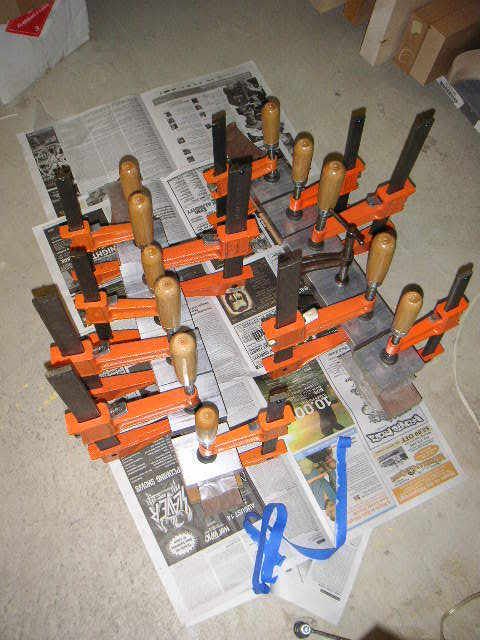
Clamped up Not much of an update. I have glued on all of my fingerboards. The picture below is of two necks clamped up. So from here I need to start carving them out. Due to my design, I can't use my bosses duplicator. So alot of this will be completely by hand, with assistance from the beltsander. There isn't much to see right now, but I'll keep poisting any pictures.


For those of you who have not see it, the video clip is of the band Valet. Robin Kyle (the singer) is playing my telecaster.
Valet

Add to My Profile | More Videos

Wednesday, July 4, 2007

Cutting out my necks

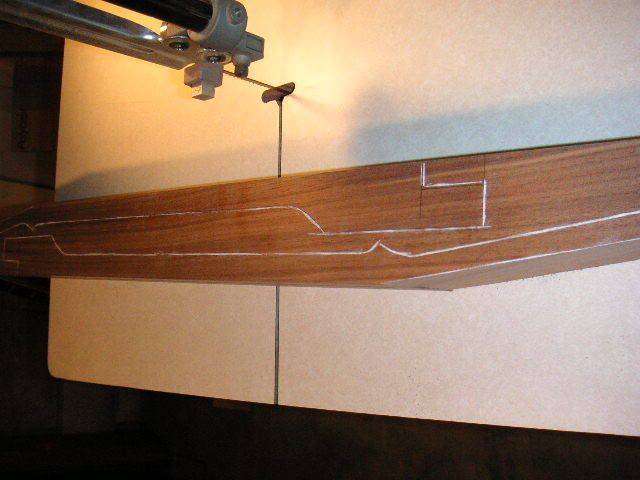
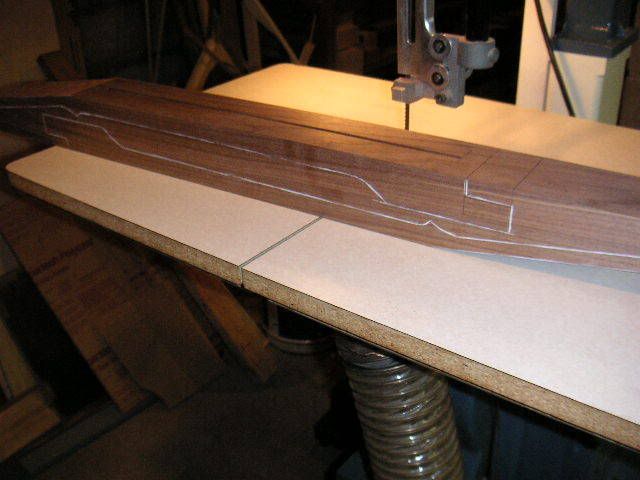
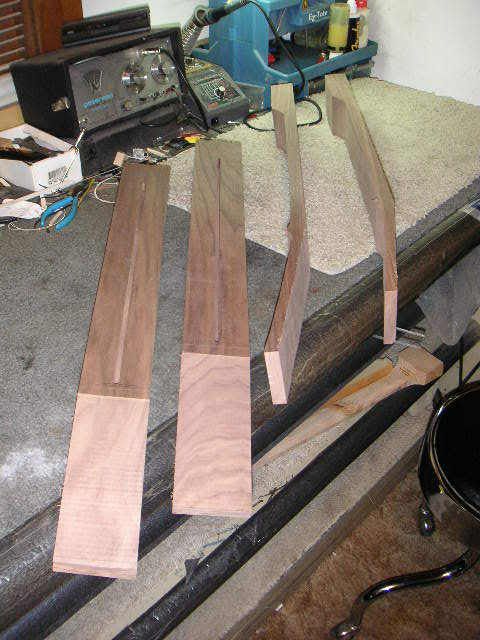
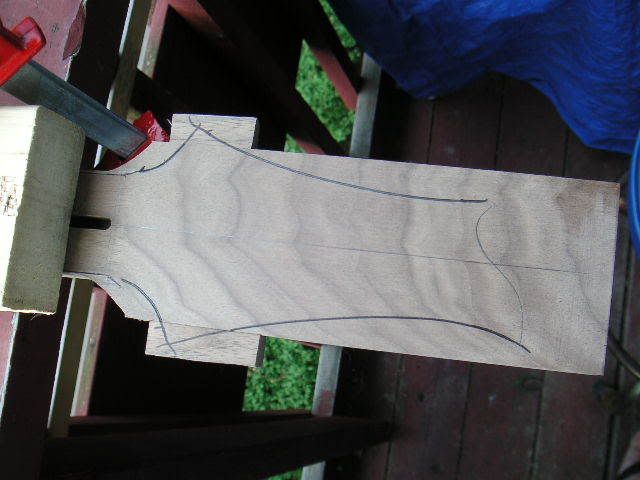
I started cutting out my necks. In the pictures you can see the outline of each neck on the squared up blocks of wood, and how I was able to get two necks out of each block. They are sort of head to heel. In the other pictures, you see how i cut out the pegheads. I had to "dog-ear" each peghead, to make them wide enough to get the full shape. This is common practice. It saves me on having to find a piece of wood that is a half inch thicker. In turn, saving a lot of wood.

Next up I will be radius-ing, and gluing on my fingerboards.