Monday, November 17, 2008

10 Days Till Deadline

I gave myself a deadline of Thanksgiving on the first guitar. I was making 4, but as I stated earlier, I am focusing on one, until it is done. The others will have to wait. Since I live in an apartment, I'm far more productive this way.

I had a logo made. I went out and took a picture of the Hennepin Avenue Bridge in downtown, then had a friend convert it into a silhouette for me. I had this laser cut into a piece of wood, and also engraved onto the pick up covers.


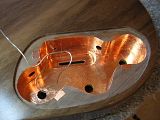
here is a picture of the control cavity. Inside, I lined the walls with copper foil. It has an adhesive backing. The copper foil helps to isolate the electronics from radio interference. With out it, you may end up having a little hum when the guitar is plugged into an amp.


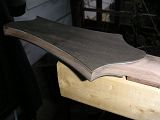
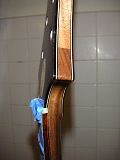
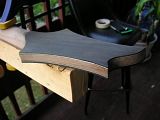
With the body having been sprayed, i started to put the finish on the neck. I decided to use gun stock oil. In the picture is a side view of the peghead. The oil will not be that shiny when it has cured. It's the same thing that Eddie VanHallen has done to his guitar necks.
Monday, September 29, 2008

Neck joint and test run on new finish.

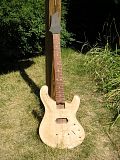
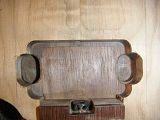
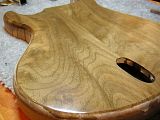
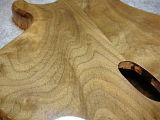
I have completed all the routing, and as you can see in the picture, my neck joint came out perfectly. No gaps anywhere. the other pictures are of a test run I did with the water based finish I am planning on using. It dried nice and ward, and is very transparent.


Wednesday, September 3, 2008

Headplate

I have the back headplate glued on. It is layered black white black. The idea came from working on some old banjos.


Monday, August 25, 2008

Fitting the neck

I have decided to focus on one guitar, and finish it off. Right now, I have the body roughly carved out, and the neck fitting the neck joint. I have not glued the neck in yet. I need to have it completely carved out, and the headplates for the back of the peghead done first. Those steps will be posted soon.


Tuesday, August 12, 2008

Back at it.

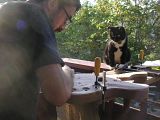
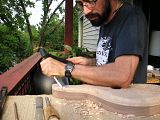
After too long off, I am getting back into my building. Here are some pictures.


Saturday, January 19, 2008

Pickup winder modification

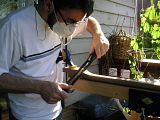
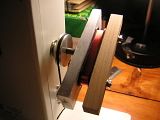
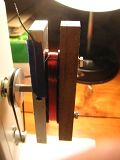
Here are some pictures of the modifications I made to my winder. I drilled some holes through the arm on the wonder, so I could attach bobbins to the arm with bolts. The result is far more stable. You can see how the wire lays evenly on the wound coil, and how i am able to achieve a more even build.


Sunday, January 13, 2008

More Routing

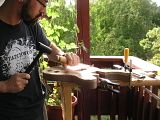
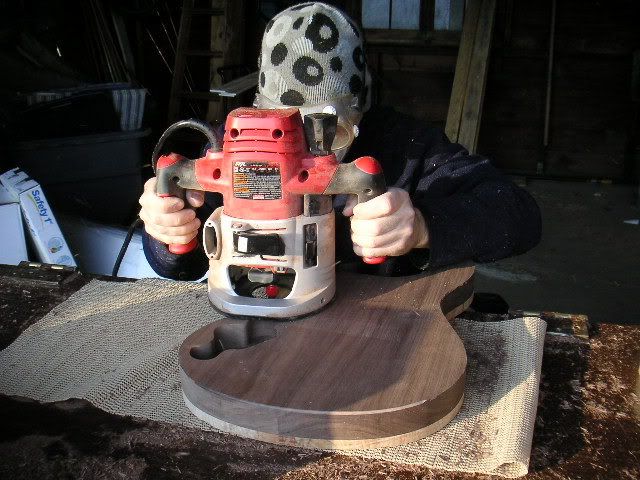
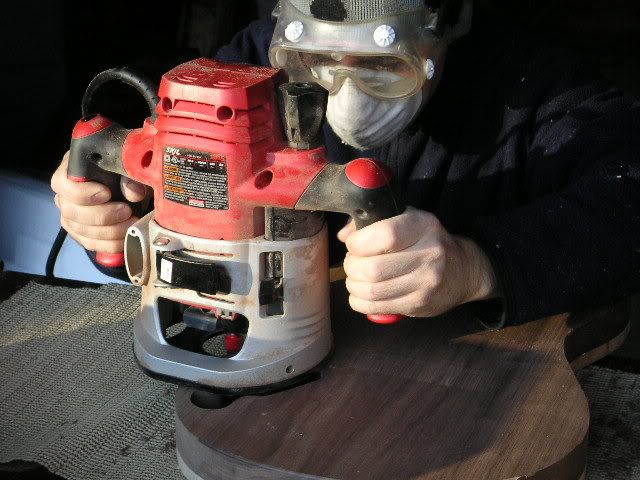
Here are some pictures of me routing some bodies. Everything is starting to take shape. I'll be carving out the tops of the guitars very soon. As for my pickups, I took my winder a part for some modifying. I drilled some holes therough the arms so i could bolt the pickup coils to the arms. Previously I was using carpet tape, and that wasn't good enough. I have would a few coils since, and everything is much more stable.


Photobucket
Photobucket